Lemon
Just got it firing!
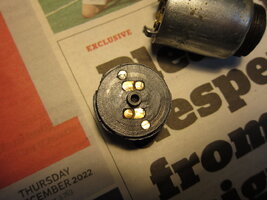
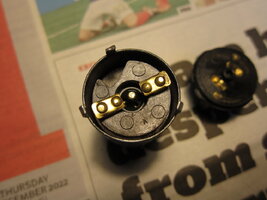
Strange problem with my guzzi. Sometimes, after being left standing for a week or so, I turn the ignition key and there is nothing. No lights or anything. However, the flashers still work. Then after a few Trieste the lights will come on and it's perfect. Any ideas?