• Ciao Guest - Youā€™ve landed at the ultimate Guzzi site. NEW FORUM REGISTRATIONS REQUIRE EMAIL ACTIVATION - CHECK YOUR SPAM FOLDER - Use the CONTACT above if you need help. New to the forum? For all new members, we require ONE post in the Introductions section at the bottom, in order to post in most of the other sections. ALWAYS TRY A SEARCH BEFORE STARTING A NEW TOPIC - Most questions you may have, have likely been already answered. DON'T BE A DRIVE-BY POSTER: As a common courtesy, check back in and reply within 24 hours, or your post will be deleted. Note there's decades of heavily experienced Guzzi professionals on this site, all whom happily give endless amounts of their VALUABLE time for free; BE COURTEOUS AND RESPECTFUL!
  • There is ZERO tolerance on personal attacks and ANY HYPERLINKS to PRODUCT(S) or other competing website(s), including personal pages, social media or other Forums. This ALSO INCLUDES ECU DIAGnostic software, questions and mapping. We work very hard to offer commercially supported products and to keep info relevant here. First offense is a note, second is a warning, third time will get you banned from the site. We don't have the time to chase repeat (and ignorant) offenders. This is NOT a social media platform; It's an ad-free, privately funded website, in small help with user donations. Be sure to see the GTM STORE link above; ALL product purchases help support the site, or you can upgrade your Forum profile or DONATE via the link above.
  • Be sure to see the GTM STORE link also above for our 700+ product inventory, including OEM parts and many of our 100% Made-in-SoCal-USA GTM products and engine kits. In SoCal? Click the SERVICE tab above for the best in service, tires, tuning and installation of our products or custom work, and don't miss our GT MotoCyclesĀ® (not) art on the BUILDS tab above. WE'RE HERE ONLINE ONLY - NO PHONE CALLS MADE OR RECEIVED - DO NOT EMAIL AND ASK QUESTIONS OR ASK TO CALL YOU.
  • Like the new V100, GuzziTech is full throttle into the future! We're now running on an all-new server and we've updated our Forum software. The visual differences are obvious, but hopefully you'll notice the super-fast speed. If you notice any glitches or have any issues, please post on the Site Support section at the bottom. If you haven't yet, please upgrade your account which is covered in the Site Support section or via the DONATE tab above, which gives you full site access including the DOWNLOADS section. We really appreciate every $ and your support to keep this site ad-free. Create an account, sign in, upgrade your account, and enjoy. See you on the road in 2024.

Mindis V7-850 Mods

Mindis

Cruisin' Guzzisti
GT Contributor
Joined
Feb 13, 2022
Messages
407
Location
Campbell River BC, Canada
Well, even most beautiful things have to be modified my way, It's just how I roll and can't help myself... I'm working on it... I mean literary, with wrenches:)
She's gorgeous in the sunšŸ„°


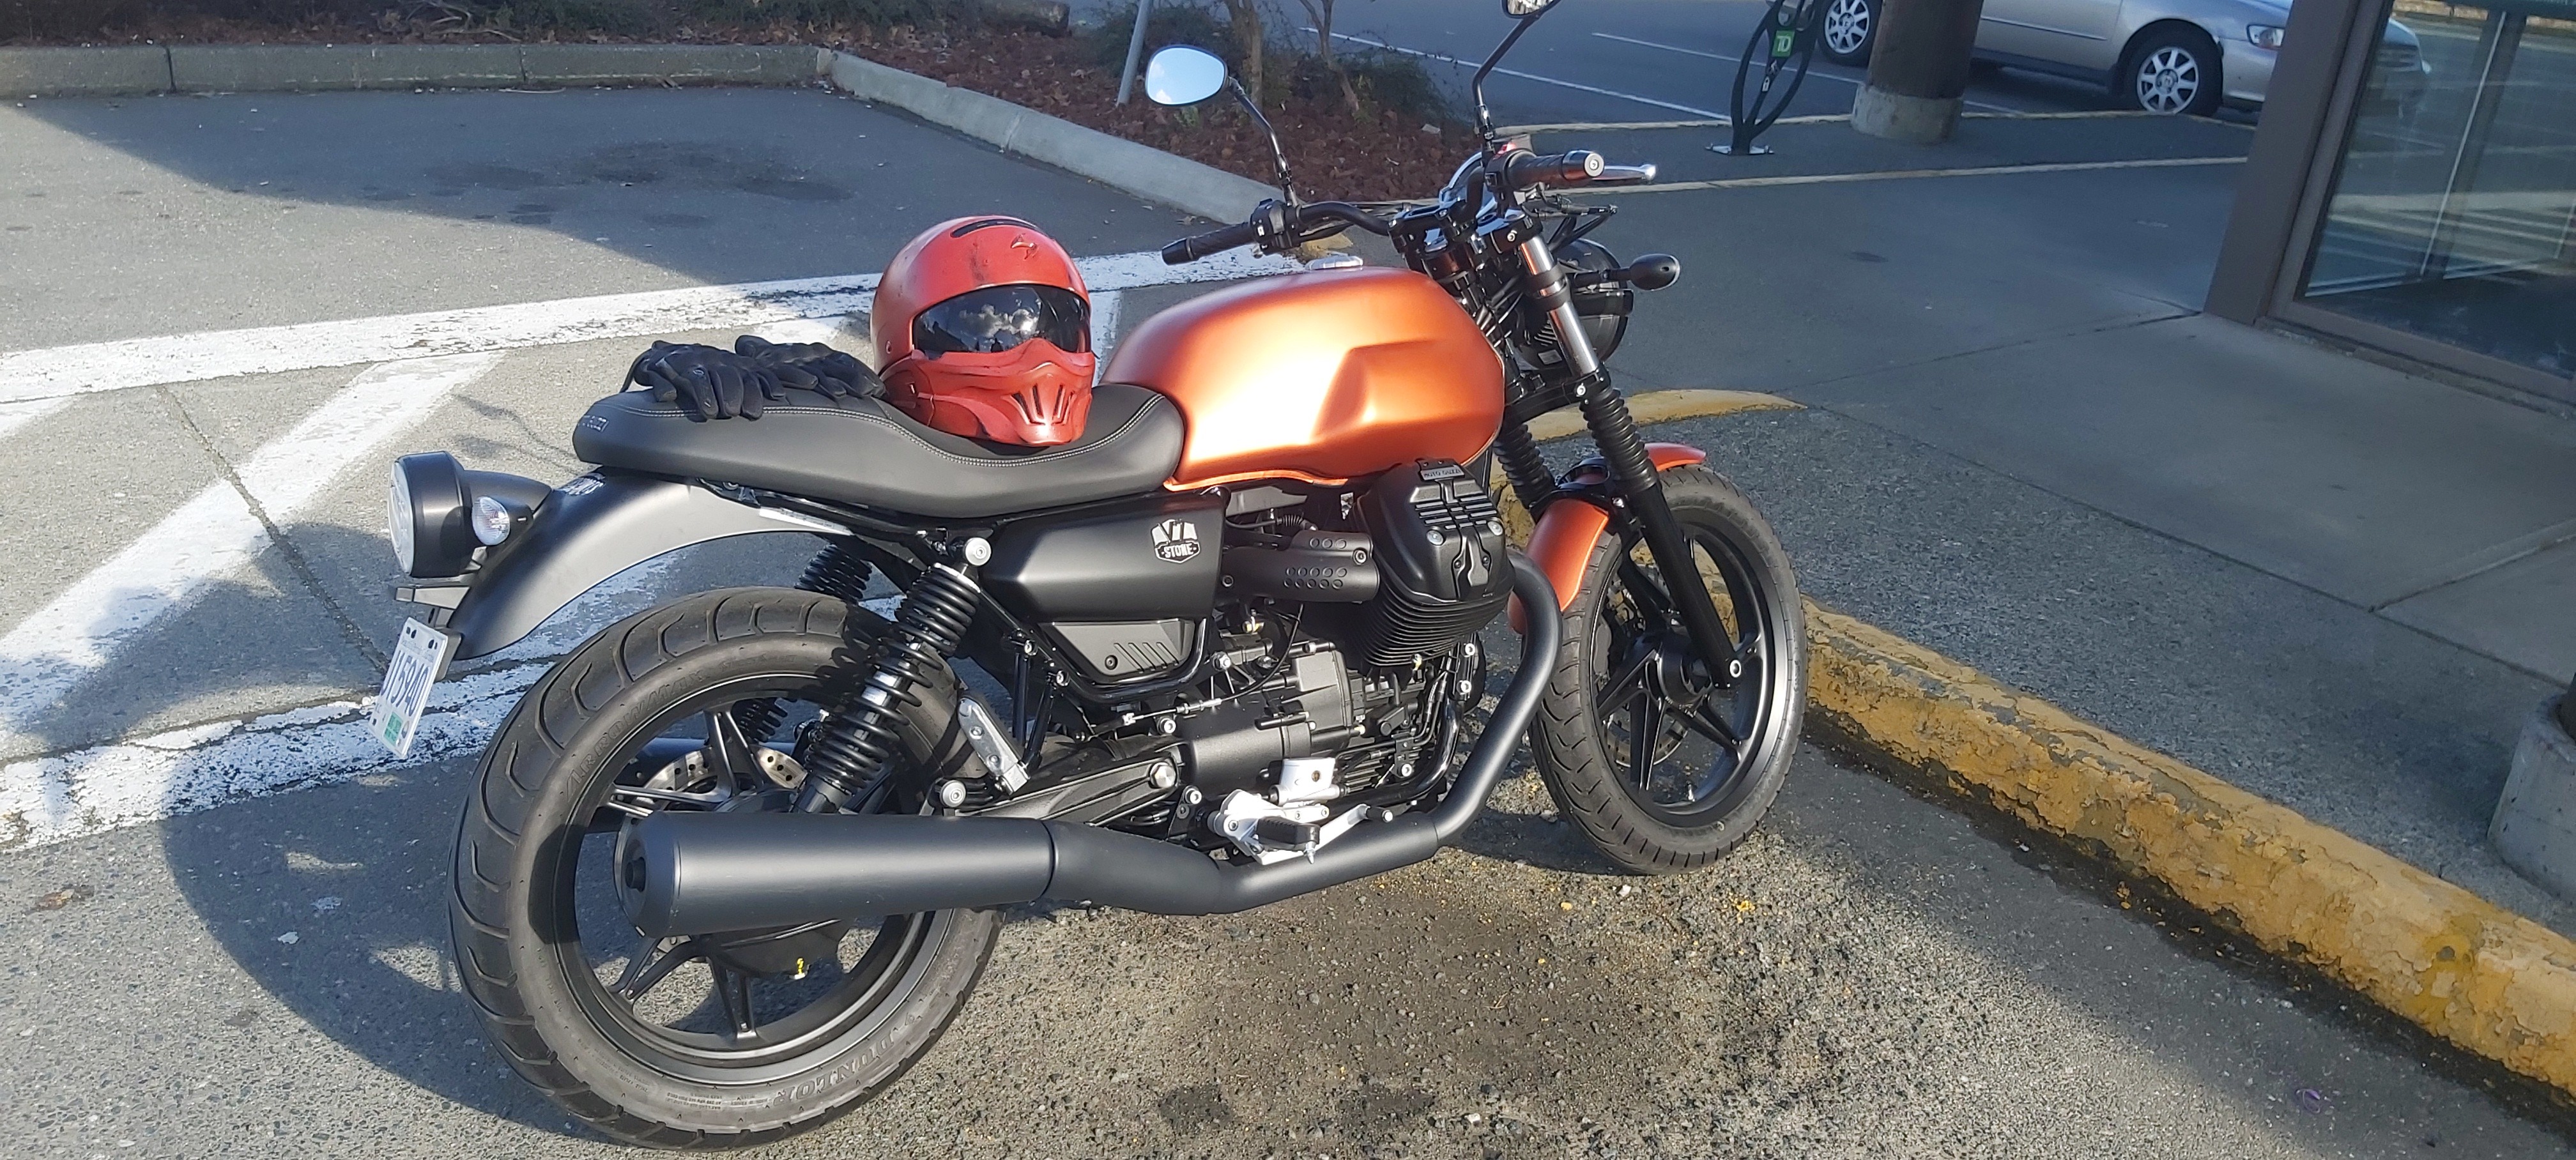
I thought I'll start a thread for my mod ventures so everything is in one place. For now I'll do only cosmetic mods not to void the warranty but after that she'll go for full cafe racer style chop chop like monoshock, aft frame cut and so on. I like things minimalistic, less is more, classic looks with modern touches, sort of modern retro. ...oh, that bike already is that, but still... šŸ˜‹

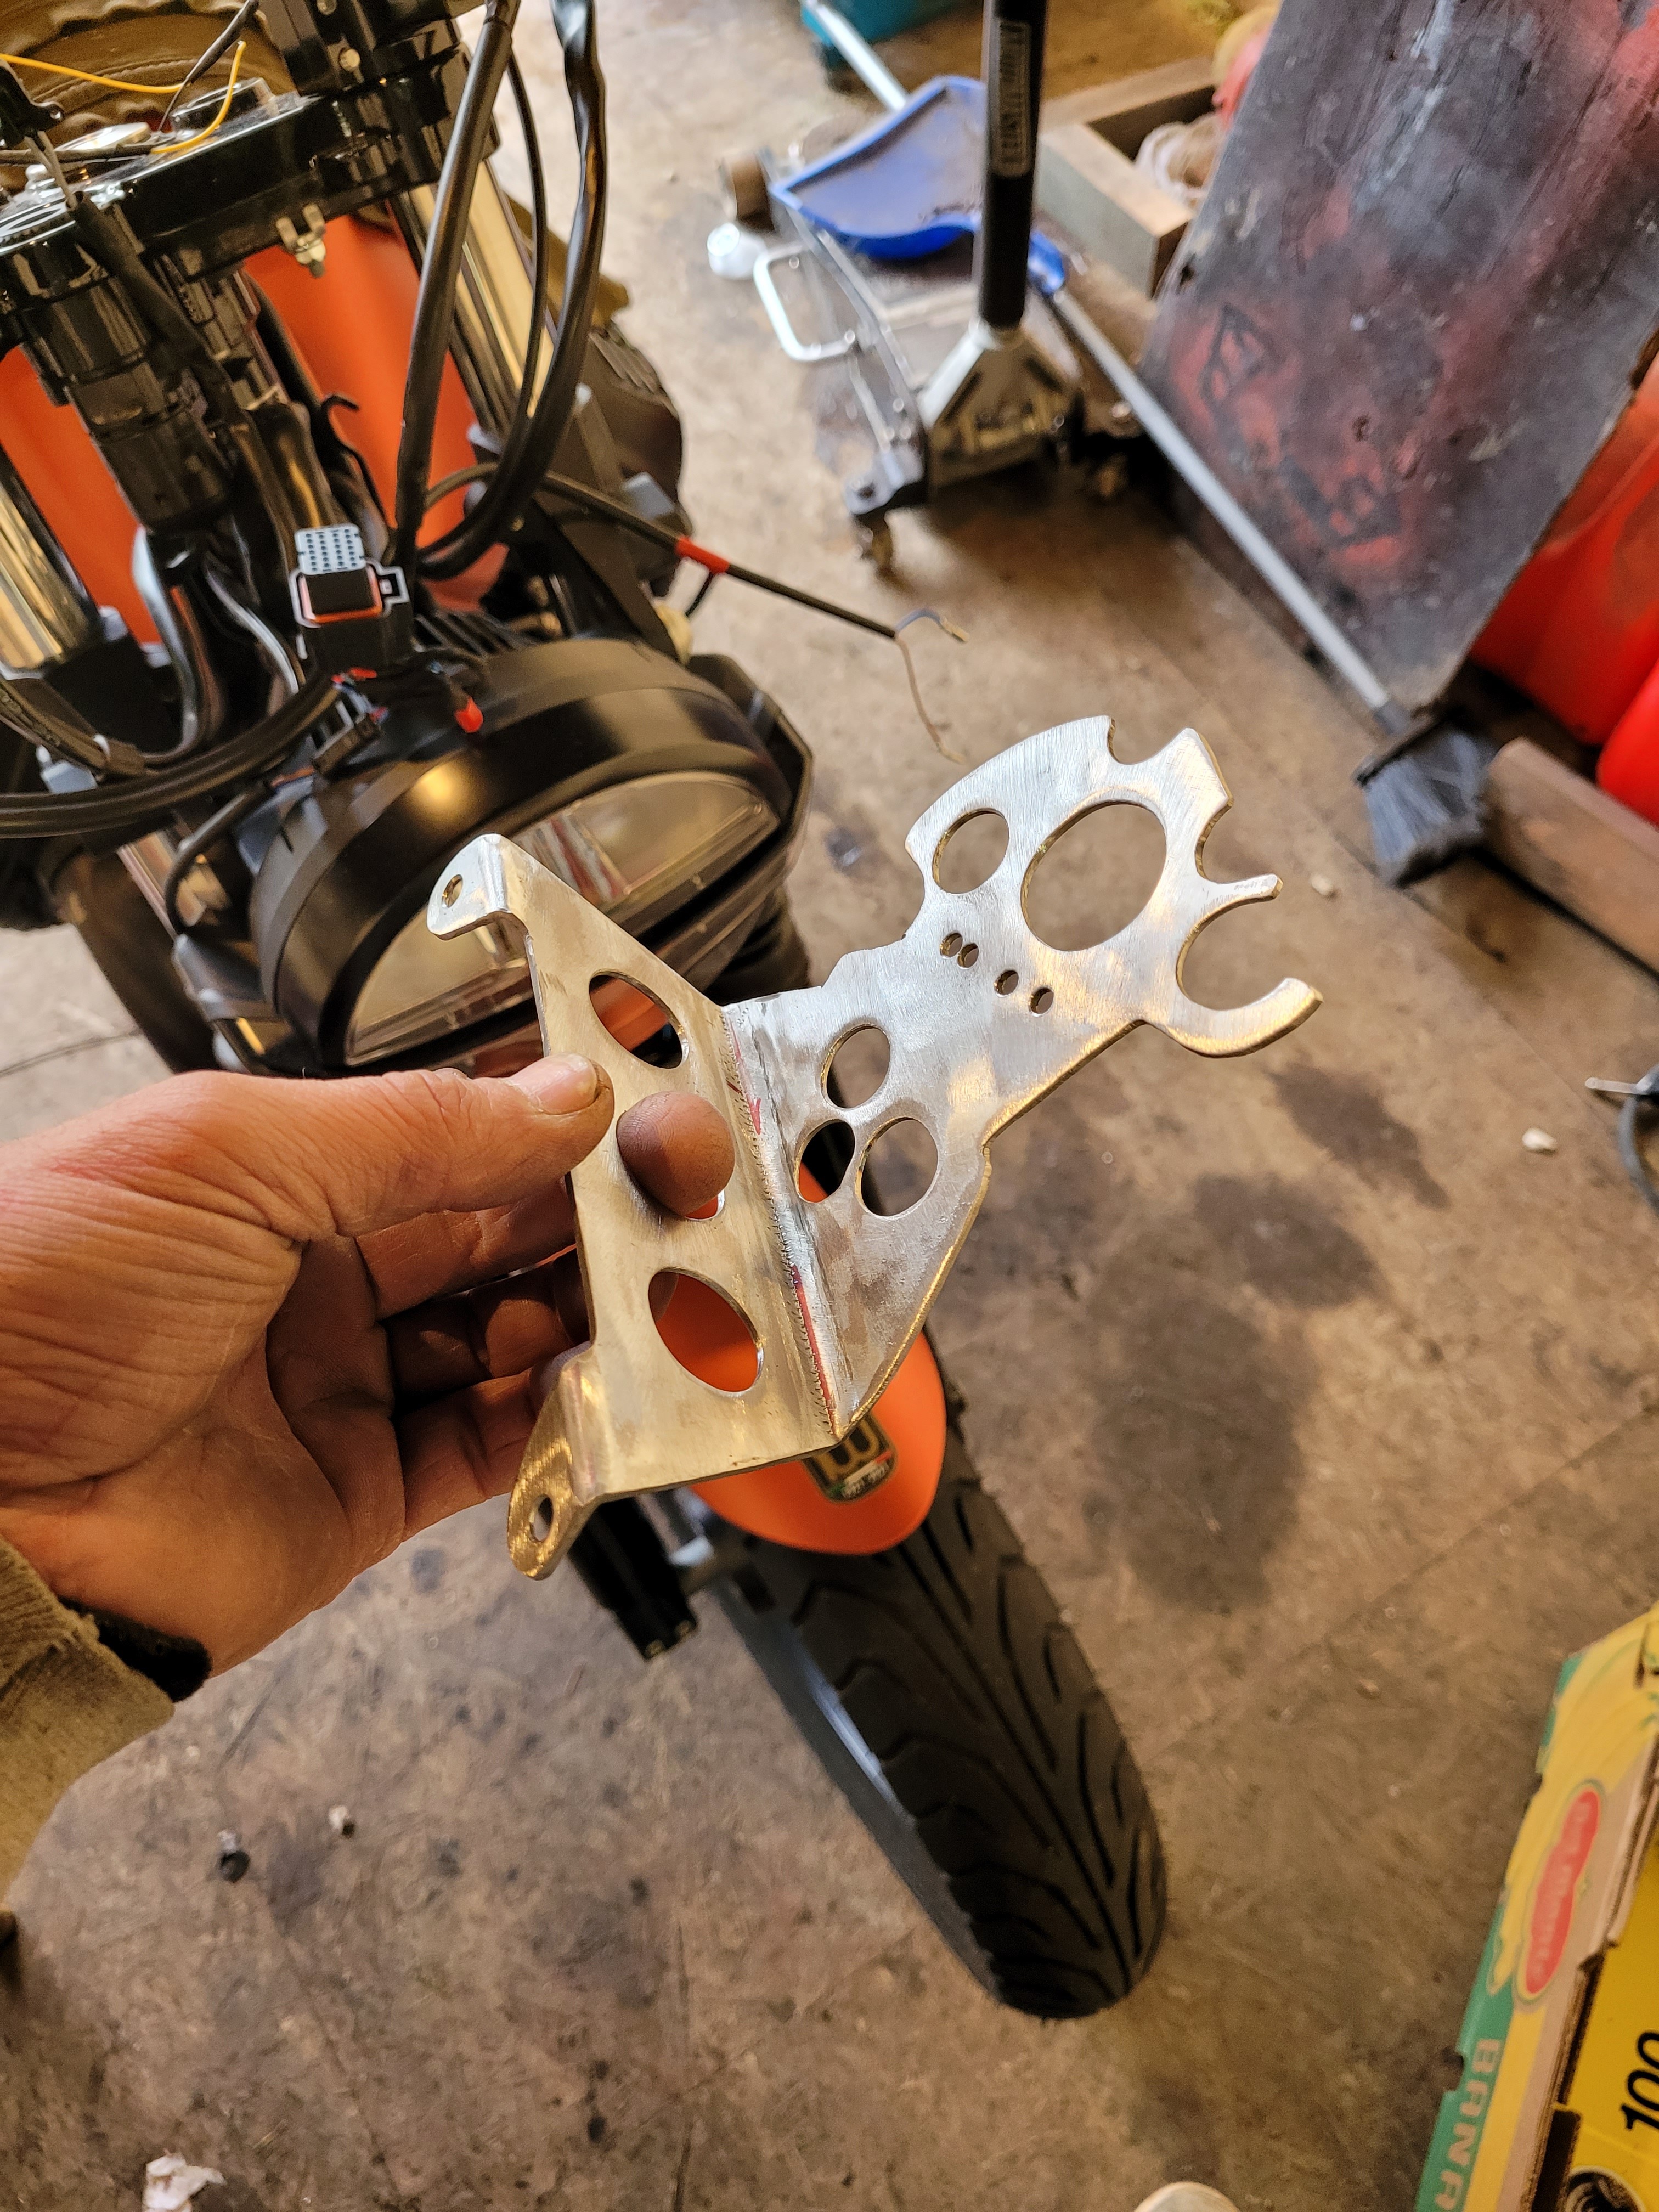
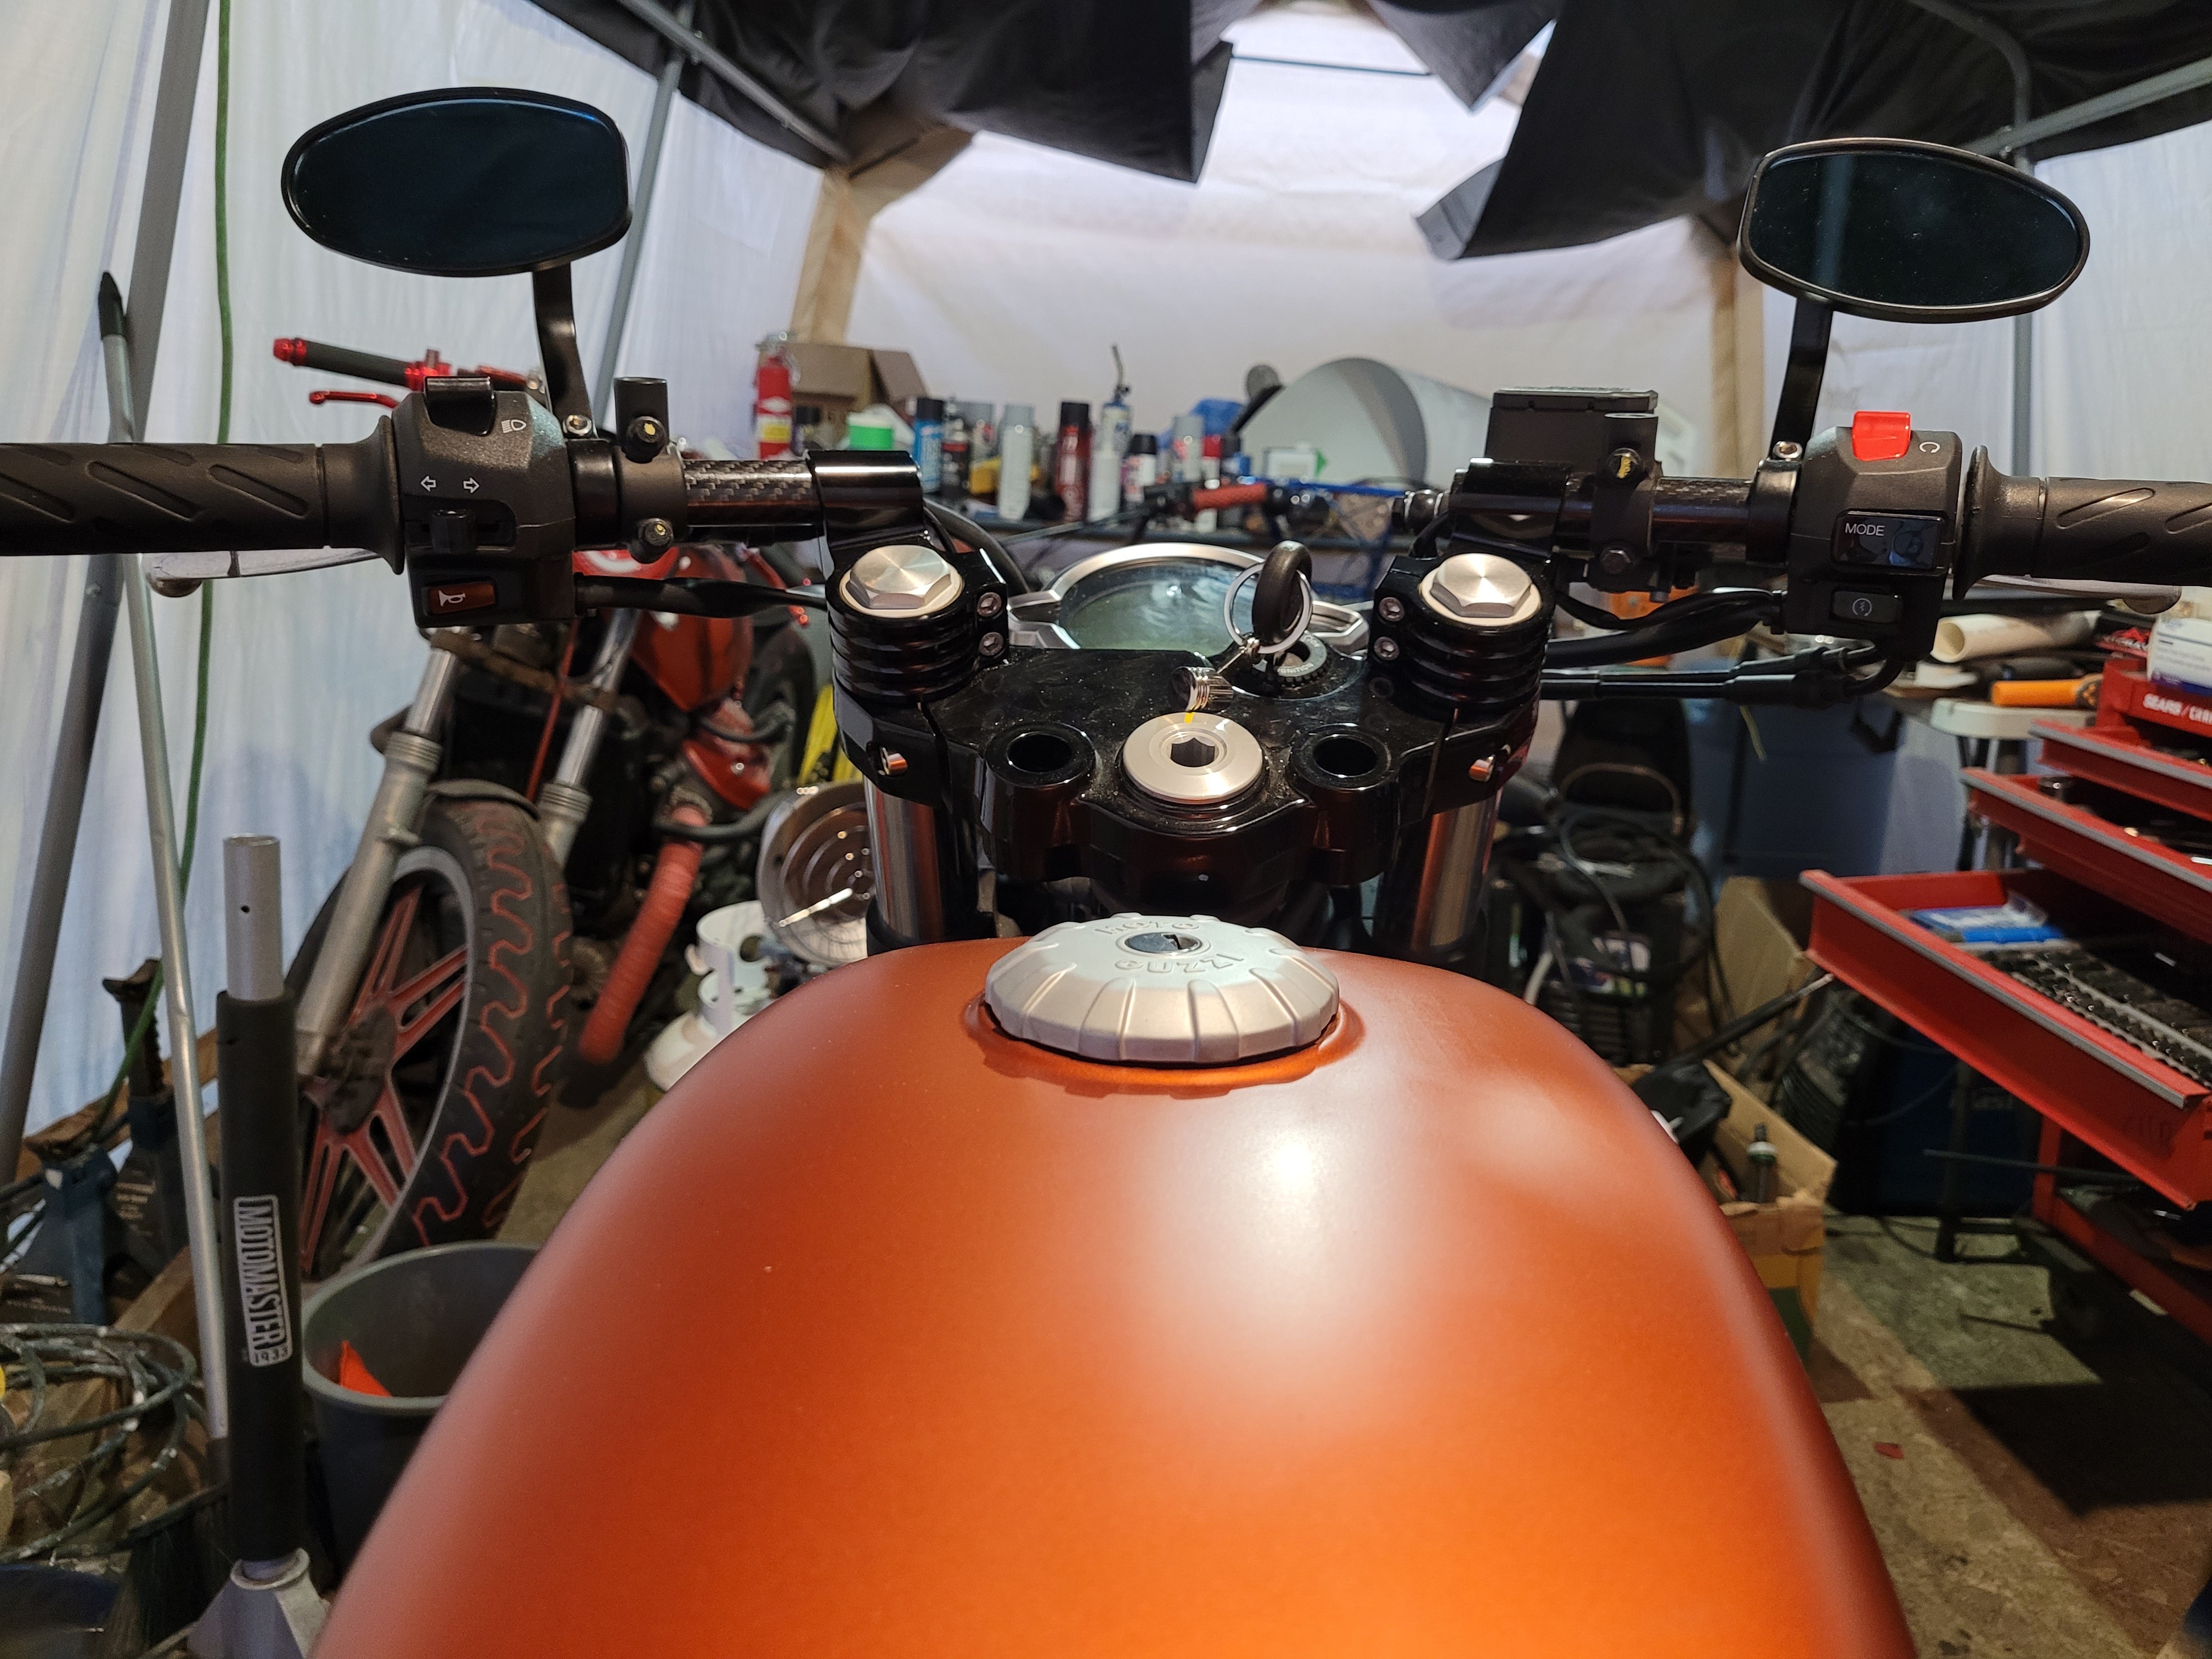
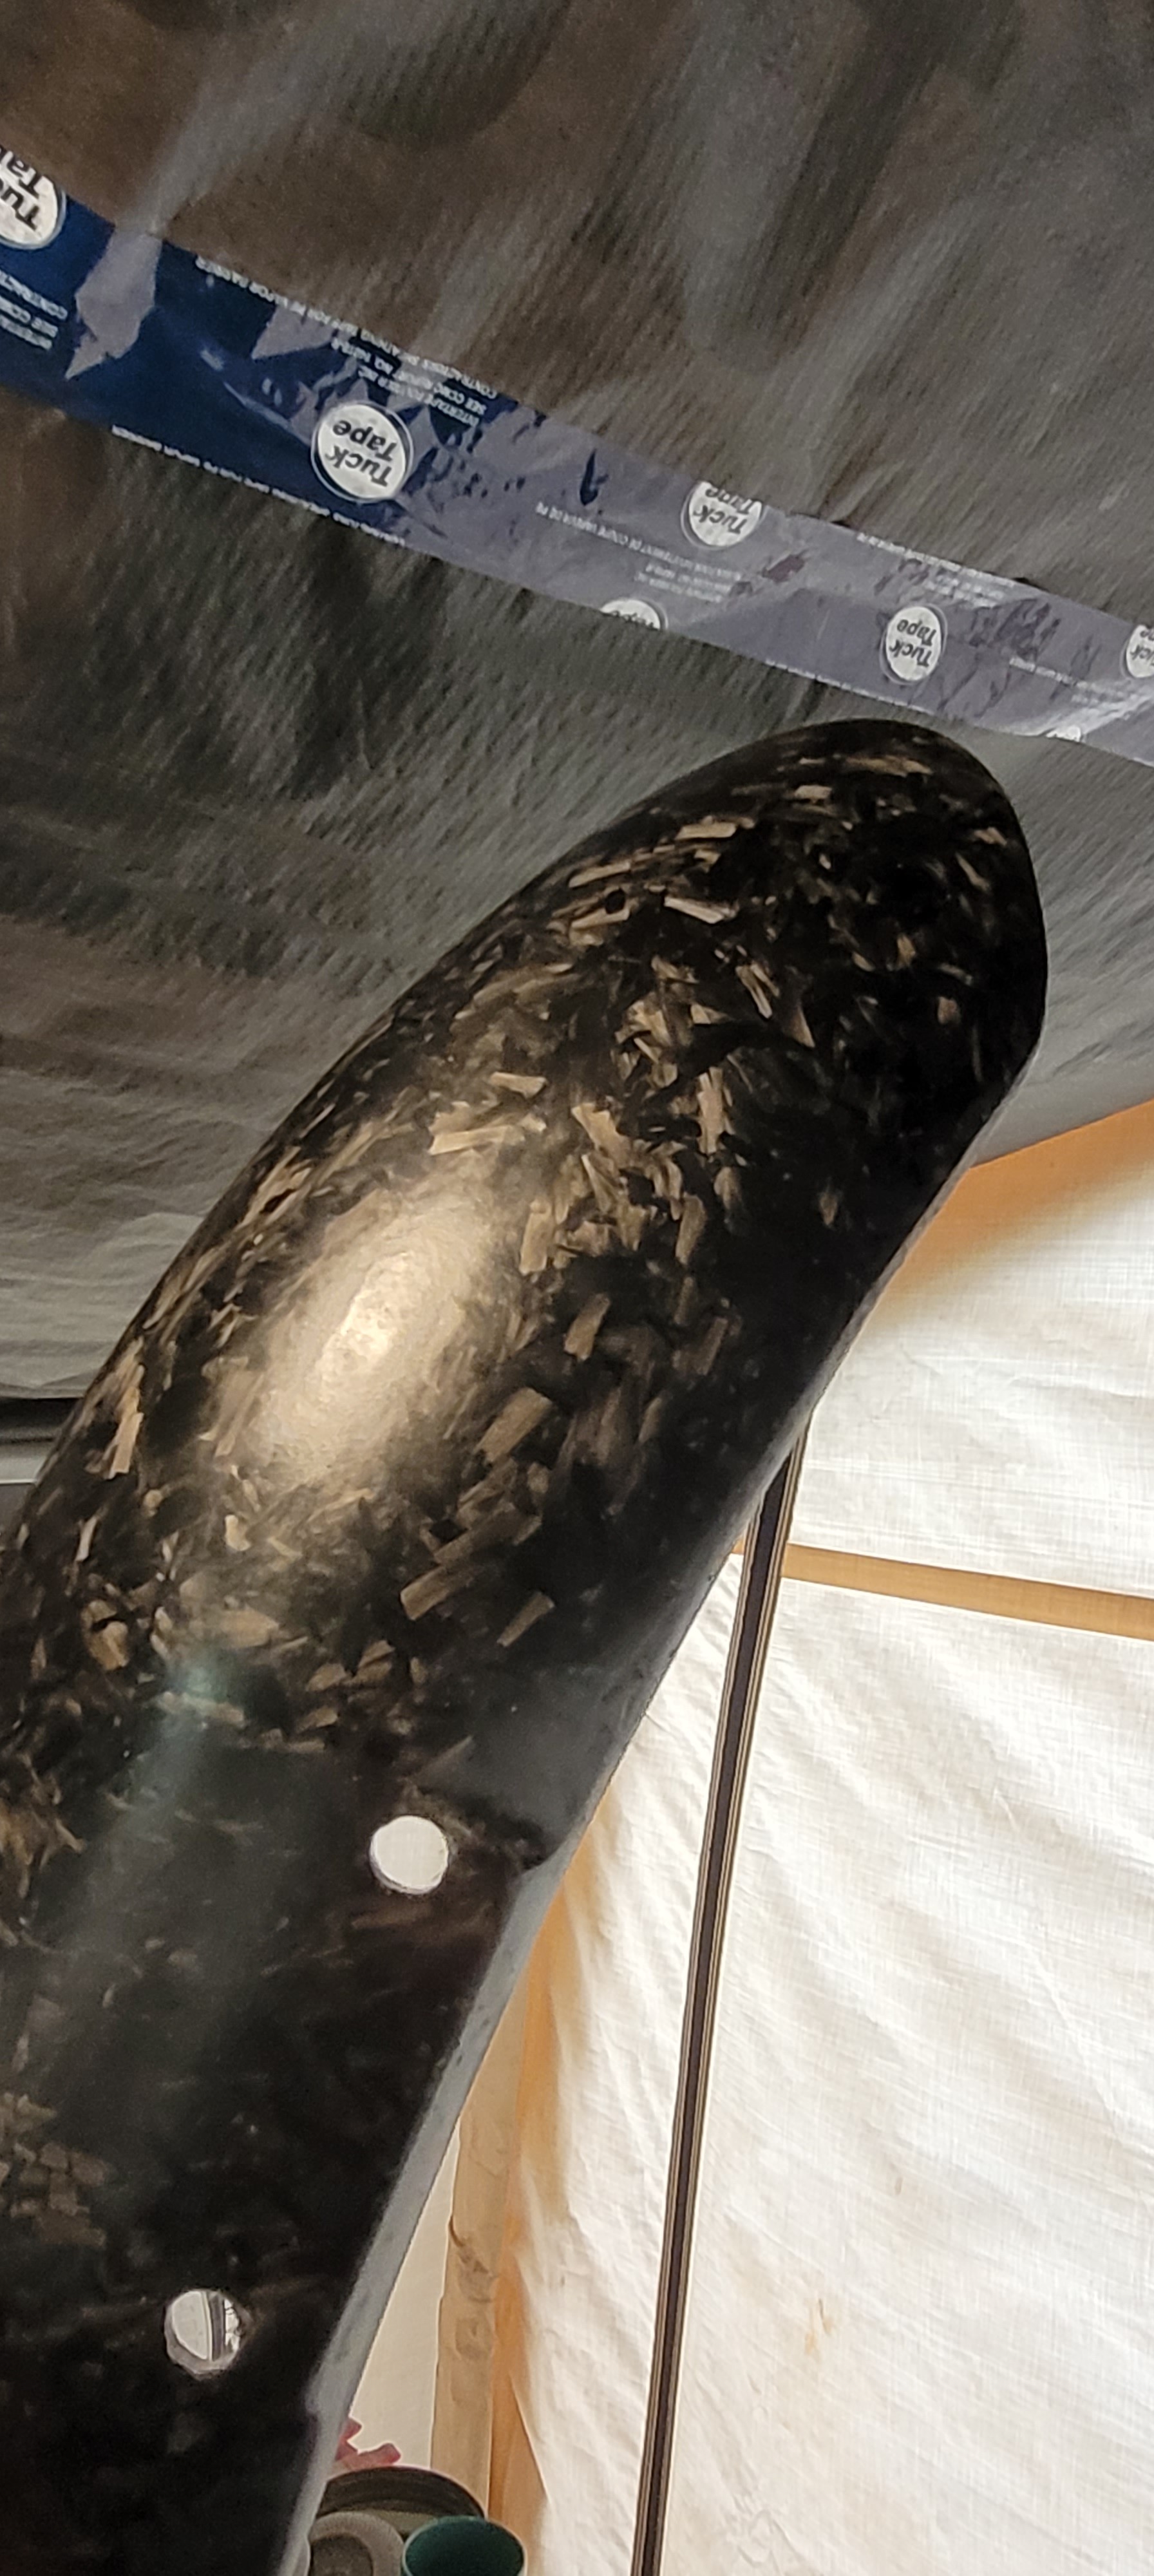
First order of business, lower the speedo on the budget. I used longer bolts underneath and 50mm length carbon fiber tubes as spacers:


I also took out spacers that makes turn signals stick out each side like pair of antlers. It's only temporary, I'll have bar end signals once I have my clip-ons with bar end mirrors:

 
I also took out spacers that makes turn signals stick out each side like pair of antlers. It's only temporary, I'll have bar end signals once I have my clip-ons with bar end mirrors:

Those turn signal spacers are only used on USA-destined V7 850 models. Must have something to do with an obscure Federal spec. I learned that when I installed an OEM windshield on my 850 Stone. The installation instructions are slightly different for the US models vs the elsewhere models.
 
Those turn signal spacers are only used on USA-destined V7 850 models. Must have something to do with an obscure Federal spec. I learned that when I installed an OEM windshield on my 850 Stone. The installation instructions are slightly different for the US models vs the elsewhere models.
Indeed. When modifying my other bikes I learn some Canadian regulations in BC. Turn signals have to be at least 4in away from headlight, mirrors no lees than 3in diameter and at least 3in away from hand controls, and some other stuff that I don't like and don't want to comply lol I live in a small town and don't want to start an argument with cops about legality of things on my bike:)
 
Indeed. When modifying my other bikes I learn some Canadian regulations in BC. Turn signals have to be at least 4in away from headlight, mirrors no lees than 3in diameter and at least 3in away from hand controls, and some other stuff that I don't like and don't want to comply lol I live in a small town and don't want to start an argument with cops about legality of things on my bike:)
Well... I Guess I am breaking at least 4 laws so far. And I just got started with the modifications
 
new rear set.
Which rear set ya thinking about? I bought Sato, should have it in my mail Monday and I'll slap it on asap:) I was brainstorming ideas to make my own brackets to move back and up original footrests but they would've ended up even wider than they already are... Sato are a bit too pricey for my liking (not that there's much more options yet for our model) but as everything fits and well engineered, sounds not that bad moneywise:wasntme:
I'll post my ventures shortly
I talked to Sato a few months ago. They told me the rear sets for pre-2020 models is not compatible with the 2021 models. They could not give me a estimate for when they would have one that will fit my bike.

GC Corse told me theirs is compatible with the 2021 models. Once I get my tax refund, I am ordering them in.
I got a set for 21' model, one forum member has them on already, can't find him atm lol
If ya wait till mid next week, I can confirm or deny whether they fit:)
 
Got Sato rearsets done:) They're pricey indeed but very well engineered, fits like they just should've been there from the start. Was brewing ideas how to DIY-style push back and up original footrests but then I thought- screw this, I'll treat my favorite girlfriend with sm quality stuff. Ya know, when ya treat them right they love you back :) Pressure switch included for rear brake has a tiny delay compared to mechanical switch but barely noticeable. Haven't done a test ride yet, not a fan of rain with heavy winds, but looks like I'm comfortable with most far back and most up settings so far. Now when I sit comfy, my knees can grip the tank right behind the bumpouts above valve covers. Also my feet are not as wide anymore as well. Feels like a lot more sportier stance. If I would be a bigger guy I'd probably want to move my feet back another wee bit more, I'm 179cm height. Dunno what's that in feet, I don't measure my beer in "olympic swimming pools" lol


And to accommodate rearsets I got my clip-ons on. First of all, I discarded my temporary gauge drop bolts and made a proper bracket that keeps my gauge centered angled to my preference and the height I want:


I got clip-on clamps with 1 inch riser. I thought I'll have the right handlebar height if I slide them in forks just under the top triple. But after trying things there and there I realized that riding posture became a bit too aggressive for what I want. I'm planning to do a bit longer rides then just zip around town so I don't want to bend my back too much. So I slid my forks up 30mm to lower the front like I planned and put clip-on clamps on top. But now with 1 inch rise they became a wee bit too high for my liking... Looks like I want clamps on top of triple without that 1 inch rise, jeez I'm fussy... LOL So I ordered another set and be riding as it is for now.
Got my bar-end mirrors as well but put them the "normal" way for now until I pass my road test. Yes, I have only N driving licence and as I overheard instructors are not tolerant to such mods in my area...


But I hope my bar-end turn signals will do fine:)

 
Does that allow for full travel of your front forks?
Not anymore, 30mm less travel as I slid forks up 30mm. I was trying to jump on them full wack and I don't think I'll bottom them out. I wanted my front lowered (as well as to accommodate clip-on clamps) but don't want to do it internally, maybe not just yet:)
 
It was bottoming out I was worried about, I can see you have lost 30mm, is why I asked about full travel.
On my V7i, I dropped the bike through the forks 11mm to sharpen the steering for trackdays, I had to put it back when I changed tyres as it became quite twitchy, I imagine on the road the 30mm drop sharpens your steering considerably if you have not lowered the rear as well... I'd suggest caution while you get used to the bike because if you have lost travel, if it bottoms out with the much steeper steering angle, it could cause you a mischief.
I did lowered my rear, to the lowest. I'd like to lower my rear even a wee bit more but no more adjustments left. I like my swing arm level:)
 
I did lowered my rear, to the lowest. I'd like to lower my rear even a wee bit more but no more adjustments left. I like my swing arm level:)
How so? By reducing spring preload? If so, I highly recommend reading up on suspension settings. Donā€™t do things to injure yourself. The only proper way to lower your bike is with shorter built shocks. I offer some on the STORE tab above; https://gtmotocycles.com/products/gtm-s2w-ifp-twin-shocks
 
Well, I ordered GTM twin shocks, let the wait begin... Too much customizing options, rider weight, riding style etc... I felt like a spoiled child, not used to it LOL After raising 4 kids nearly all by myself, me be like- ya having this or that for food and 10 seconds to decide or I'll choose for ya:D

Now to my DIY ventures, here's my forged carbon fiber front fender:)
I wanted it smaller so I used original fender as my mold and molded my fender on the inside of it. As nearly all the bike is satin, I put satin clearcoat on it rather then having it glossy shiny. To lower it closer to the tire I cut 11mm off forks brace standoffs.


For once I did a mod that's not aesthetic but actually useful and needed:p

After I took out my rear fender, an unused space appeared under the seat. Also dirt and dust from rear wheel was shooting under the seat and towards fuse box. ...aaaand seat opening cable was exposed under the seat and seat could be taken out without a key. So I made a thingy from fiberglass to solve my world problems:) As it is not visual I made it from fiberglass rather than carbon fiber. Sides goes up nearly up to the bottom of the seat, less than half an inch to spare. That gave me some storage space for my "oh shit" kit. I can fit there tire repair kit, palm size 12v tire pump, hex keys, few wrenches, screwdrivers, tape, zip ties and if I did drugs then even half a year weed supplies as well LOL Ya know, the little nick nacks that ya hope that ya'll never need but if ya do, then ya rather be looking at them than for them;)


I'm only warming up with my mods:D
When I ride I like my knees right behind tank's bumpouts, and to have that I have to shift my butt back. But the sitting part of the seat curves up towards the back and my butt is keep on sliding back in the middle. Upholstery is only stapled to the seat so I took it off and sanded down 15-20mm of the foam where my butt rests.
That seat is very comfy, but sometimes it felt a bit too stiff for my liking. Of course no manufacturer will make seats to fit each individual buttcheeks... So to soften up the foam I drilled few holes using radio antenna tube. Had to do it in few tries while keep on checking butt pressure point areas, to make sure I don't over-do to the point of no return LOL
Upholstery was stapled back on and all looks like nothing happened. Where foam was carved, material is still hanging in the air (last pic) but I always had some slack there since day one when I got the bike. It's was and still is stretched, not saggy or sloppy and never bothered me so I'll call it good:)
....Hey, those holes in the foam will even help to vent my nuts in a summer;)


As of report of my seat mod, it works the charm! I had few rides of an hour'ish each, not sliding forward anymore and definitely more comfy. Before that I was thinking about them gel seats but I'm glad that I took the risk to nip at original one first. I take it as a win:)

Now, back to my mods, I need tank protectors. Well, for me it's a very thin line between "want" and "need" LOL
As composites doesn't bend I had to make molds. Taped my tank and used some years old body filler I found lying around to make molds. I kinda realized that there's a very thin line between being resourceful and a cheapskate... LOL Made the parts, cut, sand, finish, satin clearcoat on, and stuck them on with 3M double sided molding tape:


Back
Top