• Ciao Guest - You’ve landed at the ultimate Guzzi site. NEW FORUM REGISTRATIONS REQUIRE EMAIL ACTIVATION - CHECK YOUR SPAM FOLDER - Use the CONTACT above if you need help. New to the forum? For all new members, we require ONE post in the Introductions section at the bottom, in order to post in most of the other sections. ALWAYS TRY A SEARCH BEFORE STARTING A NEW TOPIC - Most questions you may have, have likely been already answered. DON'T BE A DRIVE-BY POSTER: As a common courtesy, check back in and reply within 24 hours, or your post will be deleted. Note there's decades of heavily experienced Guzzi professionals on this site, all whom happily give endless amounts of their VALUABLE time for free; BE COURTEOUS AND RESPECTFUL!
  • There is ZERO tolerance on personal attacks and ANY HYPERLINKS to PRODUCT(S) or other competing website(s), including personal pages, social media or other Forums. This ALSO INCLUDES ECU DIAGnostic software, questions and mapping. We work very hard to offer commercially supported products and to keep info relevant here. First offense is a note, second is a warning, third time will get you banned from the site. We don't have the time to chase repeat (and ignorant) offenders. This is NOT a social media platform; It's an ad-free, privately funded website, in small help with user donations. Be sure to see the GTM STORE link above; ALL product purchases help support the site, or you can upgrade your Forum profile or DONATE via the link above.
  • Be sure to see the GTM STORE link also above for our 700+ product inventory, including OEM parts and many of our 100% Made-in-SoCal-USA GTM products and engine kits. In SoCal? Click the SERVICE tab above for the best in service, tires, tuning and installation of our products or custom work, and don't miss our GT MotoCycles® (not) art on the BUILDS tab above. WE'RE HERE ONLINE ONLY - NO PHONE CALLS MADE OR RECEIVED - DO NOT EMAIL AND ASK QUESTIONS OR ASK TO CALL YOU.
  • Like the new V100, GuzziTech is full throttle into the future! We're now running on an all-new server and we've updated our Forum software. The visual differences are obvious, but hopefully you'll notice the super-fast speed. If you notice any glitches or have any issues, please post on the Site Support section at the bottom. If you haven't yet, please upgrade your account which is covered in the Site Support section or via the DONATE tab above, which gives you full site access including the DOWNLOADS section. We really appreciate every $ and your support to keep this site ad-free. Create an account, sign in, upgrade your account, and enjoy. See you on the road in 2024.

Mindis V7-850 Mods

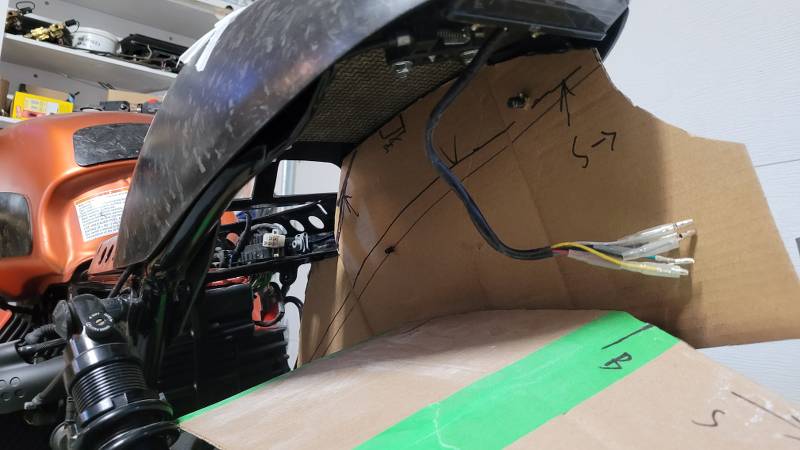
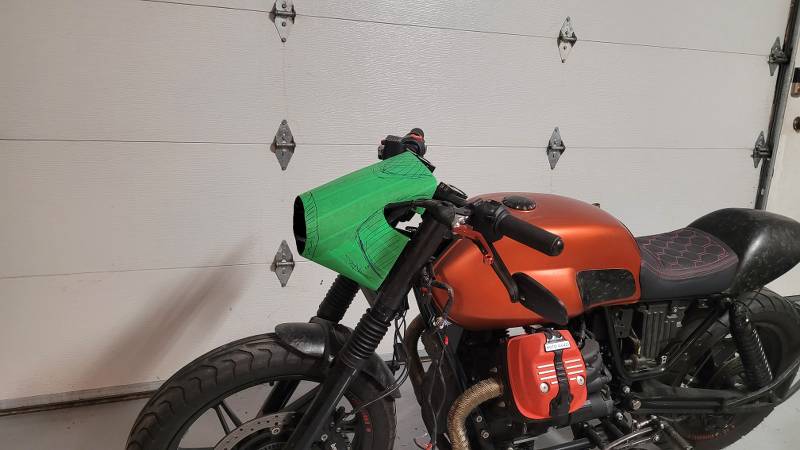
Rebuilding rear fender, everything starts with Cardboard Aided Design software:


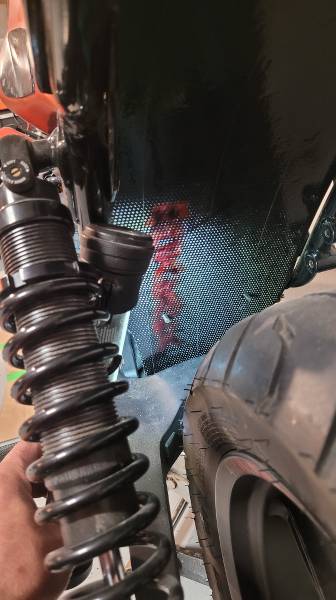
I'm raising that area that tire hit, as well as eliminating lower plastic piece. I'll have my fender run down in front of swing arm to prevent dirt from rear wheel going to clutch lever area:


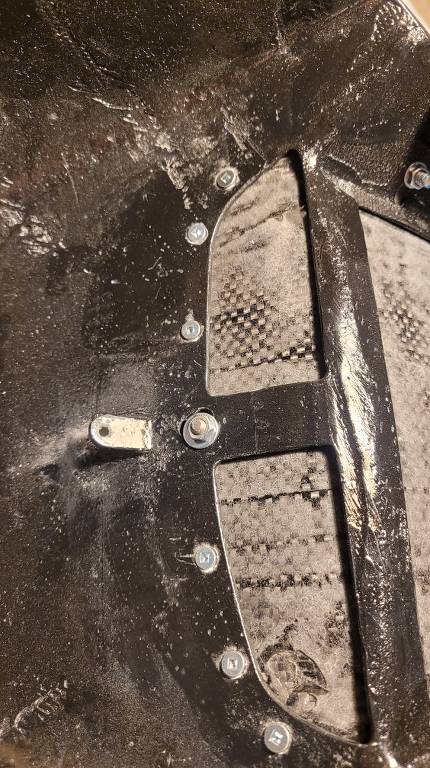
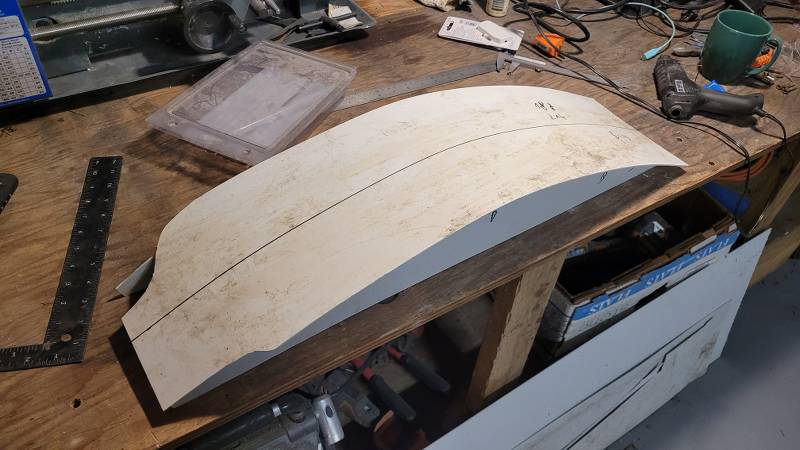
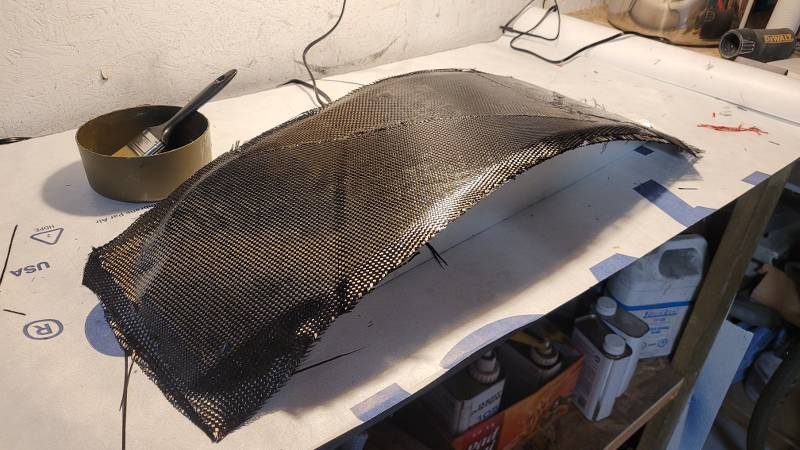
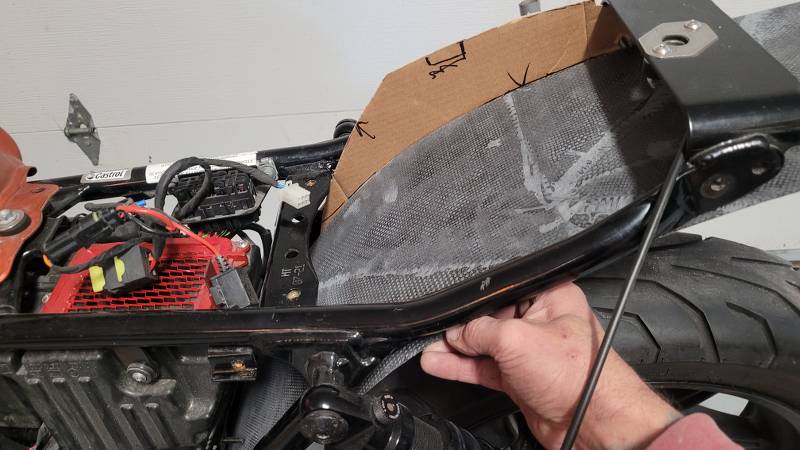
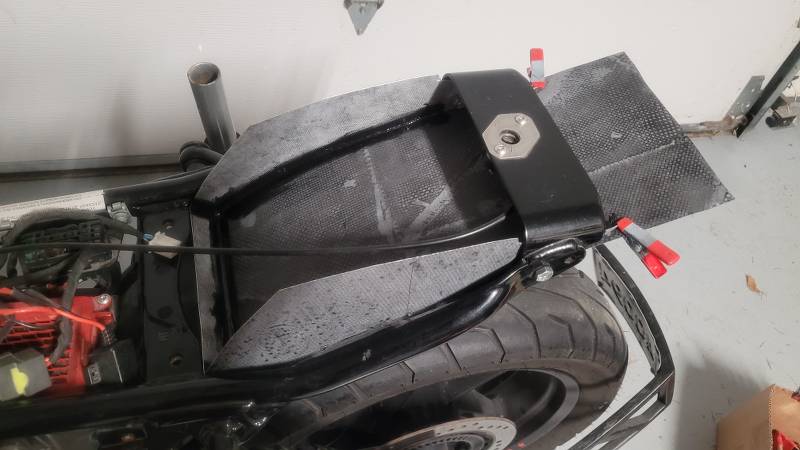
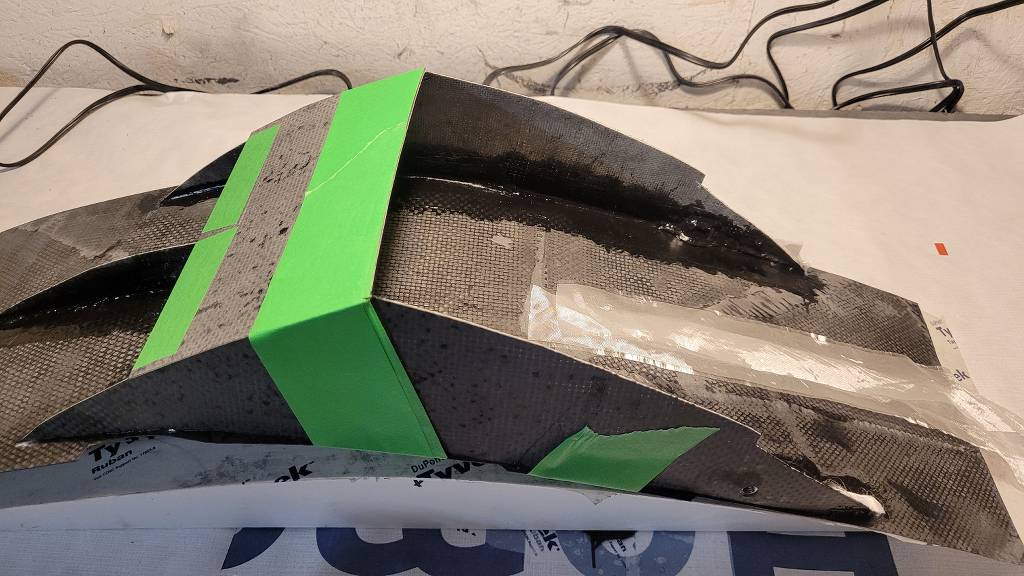
I could start with a flat piece of carbon/fiberglass sheet, it would bend that much, but since I want it to extend in front of swing arm, I have to form it in it's shape because flat sheet will want to spring back to being flat and be rubbing to clutch lever area. So made curved mold using FPR construction fiberglass sheet where I'll form carbon/fiberglass sheet:


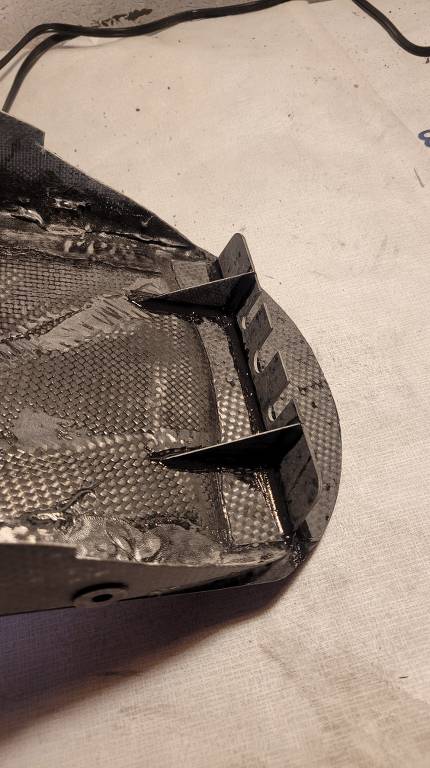
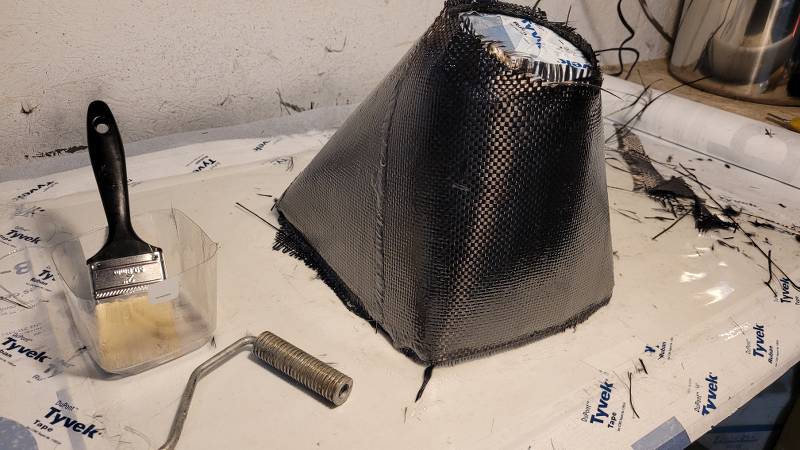
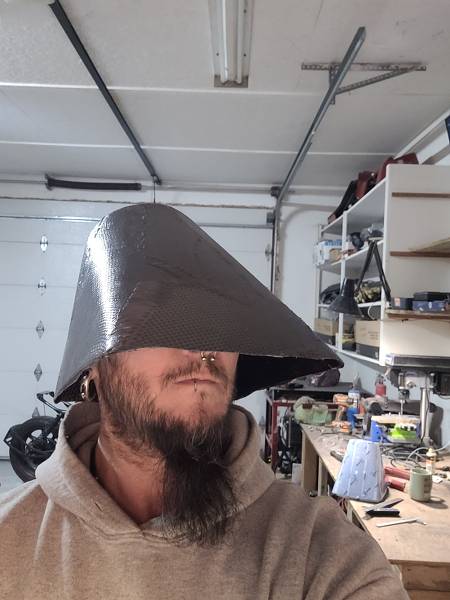
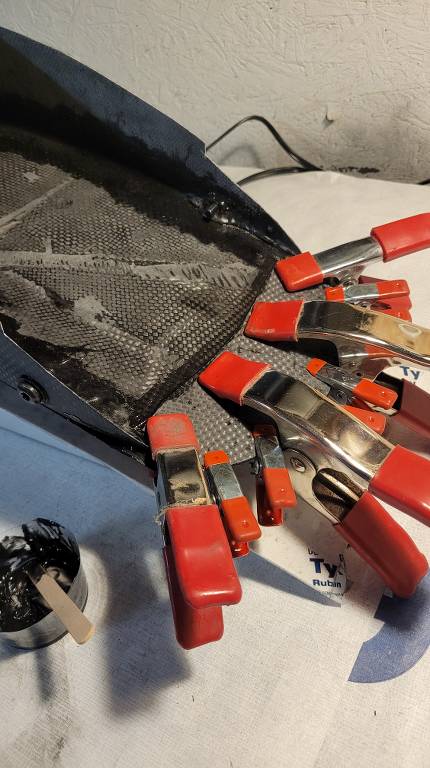
And back to my headlight bucket, mold shaping is done and it's been "carbonized". Yes, I just invented a new word... lol Once cured I'll cut it to shape I want and then skin it with forged carbon fiber.
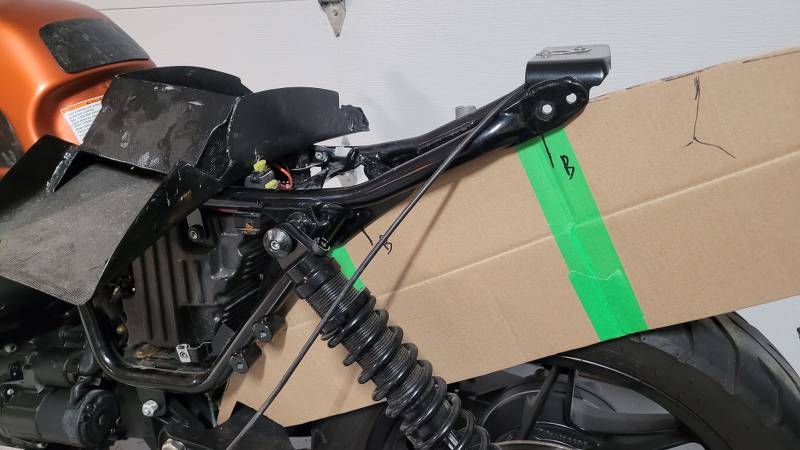
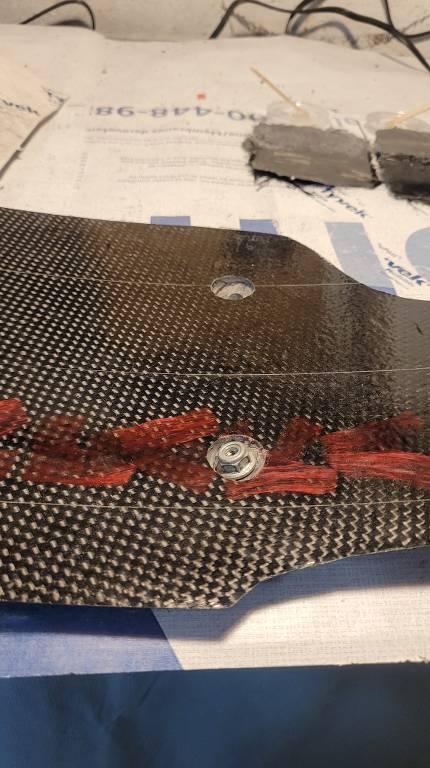
 
I felt like I need to doodle a bit on my rear fender:) I have some red carbon/kevlar cloth:
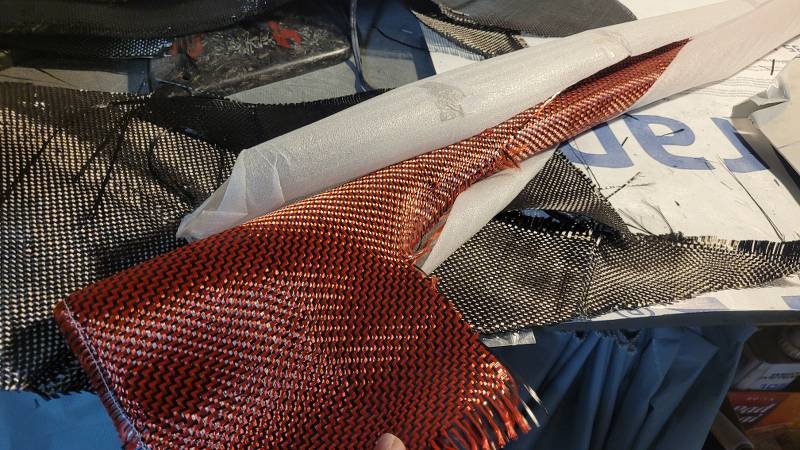


Pulled out few strands, cut to make letters:


Aramid kevlar is stronger than carbon fiber but very unforgiving when it needs to be sanded so it has to be imbedded or a part made as finished piece. So my idea on strands is that when I roll carbon fiber cloth on top, strands will flatten out a bit and it will look like brush strokes. It will look much darker on carbon cloth than on white surface but how it's gonna turn out I'll find out tomorrow...
When I was happy with my letters I mixed some magic potion liquid, performed my usual ritual and my fender part became... ...carbonized!!! hehe, that's my new favorite word:p

 
The idea of red brush strokes kinda didn't work... well, it did, but kinda didn't... it kinda worked but I don't take it as win... lol
Red kevlar strands flattened out as I hoped and they sure do look like brush strokes, but they flattened out way too much, what made the letters too messy looking and at the same time barely readable color wise. While ya can still see something when I hold the fender in front of the light, it completely disappears when it's under the seat. I thought that finished piece will look like that there's something red under the fender, due to curiosity ya stick your nose closer to see, and only then ya can read what's there. It might be more visible when I do final satin finish coz glossy carbon is reflecting like mirror, but as of now I consider that I failed on this part... Well, the part itself turned out super, I just didn't win on the lettering part, just gained nothing:shake:


Pretty tricky to get definition of the letters, but not make the letters lumpy under that top layer.
if you used epoxy or some thing to make the fibers stick closer together ?
 
Pretty tricky to get definition of the letters, but not make the letters lumpy under that top layer.
if you used epoxy or some thing to make the fibers stick closer together ?
Yep, that would've worked... Afterwards I thought that I should've made my letters separately and added to my piece after they were cured, or at least partially cured. This way I could control how much spread out thread I want to make. Well, too late now anyway, and the fact that one of bottom mountings bolts are going right through the letters, apparently, wasn't gonna help it either LOL

 
Is it done now ? or were you test fitting it ?
chopped fibers going on the whole thing of just the visible part ?
That will be the finished piece underneath, I'll make it satin later once all is done. I decided not to do forged carbon fiber finish because it's barely visible as it is, from further away ya won't even see that it's carbon. So it'll stay as basket weave satin finish.
I'll be test fitting it for another gazillion times, there's lots need to happen before I'll mount it for good. Make sm popcorn, the plot will start making sense shortly LOL
 
Now that I have bottom fender piece ready I can start making sides to boarder for storage, but to know how high can I go I have to finish my seat. I glued some fiberglass tabs and painted underneath the seat. I have enough space under my bumstop to fit tire inflator with repair kit and few other small bits:


Cut out composite plate and made M4 thumb screws to attach that plate:


Only now when I have bumstop part done I can see how high can I go with fender storage part. For the same reason I haven't mounted my cushion part of the seat yet, just so I could look from below to see max height;)


Tacked it with CA glue, mixed some resin and glued it in spots where I could reach:


Next day when it was holding it's shape I finished gluing beads, as well as M6 nuts for rear mounting:


I decided to add an extra fin in the center for rigidity. It weighs nothing and that part looked flimsy enough for me:

 
Should I be making carbon fiber hats instead of headlight buckets?


Well, I don't know when they shooting next "Fifth Element" so I'll just use this one for my headlight... as planned... :D
I taped it and started drawing some lines, trying to match gas tank lines, ish. For now I cut out only necessary holes for cables:


And then I stalled, my brainstorming mojo jar suddenly became empty and nothing was flowing.... I don't like my throttle cables where they are...


When I got my clip-ons I didn't get shorter cables, I "made" some slack there or there, and the rest of excess length of throttle cables wrapped in front of speedo when I had another windscreen. It won't work now without a sharper bend in both of throttle cables, which I'm not doing. Clutch cable stays where it was and fine where it is. So before I continue cutting the bucket I'll have a look which way can I shorten throttle cables...
 
Hey, you talking about us :rofl: Or did you mean locally ;)
Both... LOL
Growing up in Lithuania I thought Irish were weird, yet they think that Canadians are weird (along with the rest of the world:). Inlander Cunnucks think that islanders are weird, islanders think that small surrounding island people are weird. I feel I fit in just right where I am, I'd be rocking a diy carbon fiber hat all day and no one would raise an eyebrow :D
I would love to see a carbon fiber bowler hat.
 
Maybe you can convince Mindis to start manufacturing them to sell (in his spare time).
Nah, I'd rather spend my spare time working on my bikes and my boogie van:)

Back to my rear fender, I made 2 cups for bottom mounting bolts because fender is slightly at an angle. Glued them in and reinforced with thin fiberglass strips:


Sides are reinforced with thin fiberglass and top part glued on:


Mounted fender on and put my seat on so I could trace the line at the back. Cut another plate and glued on. That will be reinforcement for taillight mounting bracket that will be coming next:

 
I need a stand so scabbed one quickly with caster wheels so I can push my bike around the shop. Quick shitty job so no judging here plz :wasntme: 
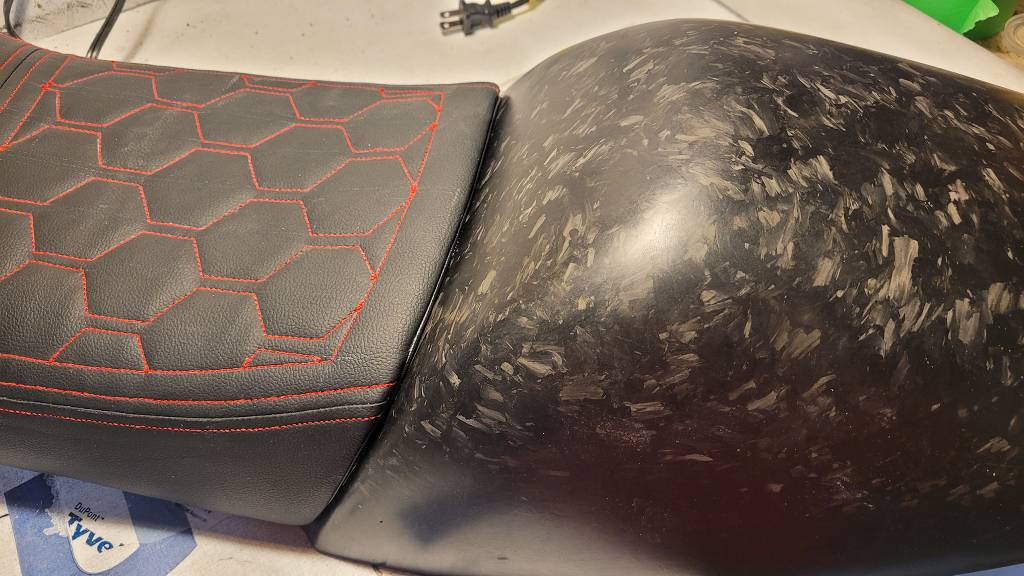
I told myself that it is only temporary and I'll make a nice and proper one later...


...but sometimes there's nothing more permanent than temporary... damn :D
 
Welds are definitely good, it's just the part looks shitty and unprofessional and it triggers me LOL

Back to my rear fender, bracket for taillight unit is glued on:


Now that fender took it's shape, I can attach cushion part to my seat. Since I stretched pleather a bit, a little gap appeared:


I knew it was gonna happen and I was prepared for it. A bead of contact cement glue and few little screws pulled all tight:


And my seat is finally done and dusted!!!


Not bad, eh? :cool:


Original seat with my previously made bumstop was around 3kg because that bumstop turned out heavier than intended. That's now 1.5kg shaved on a seat. Rear fender weighs a ridiculous 250gr, that's a ton shaved compared to stock fender with all the plastics and original taillights:)
 
Back
Top