Todd's been stressing I should can the evap system and its 'vacuum leak' since I started talking to him about the ECU reflash for Racer. Well, this morning, my second test of the ECU map with a stone-cold start on a chilly morning proved conclusively that Todd's work on that is absolutely spot on: Start, fifteen seconds to get a little heat into the cylinders, ride away ... no stumbles, no lean spot, nada. Just perfect. Thanks Todd!
But, as I returned home a couple of hours later, I noticed that the idle revs were acting a little "funny" and that the throttle seemed a hair "sticky." No idea why, but killing the motor and restarting cured both symptoms. Two miles later as I pulled into my driveway, the sticky throttle sensation was back again.
On a hunch, I opened the tank and heard a gasp of air, there was a vacuum building up in the tank. Ah hah! the evap can and it's valve were screwing up as I was told.
I spent a bit of time with the
V7III ABS Service Station Manual PDF and finally found the evap system on page 234-237 as "
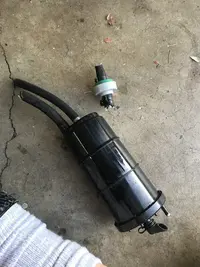
Sistema evaporativo canister". Now I could see where they were located approximately and understand the operation completely. Vacuum line connects to the evap can to draw fumes through the tank breather after passing them through the charcoal. The valve is supposed to limit how much vacuum is applied and vent when it's too much. Obviously, it wasn't working right. A cheap and crappy valve, essentially, is the cause of the problem. But the system is ugly anyway and almost totally unnecessary for the evaporative emissions of a motorcycle.
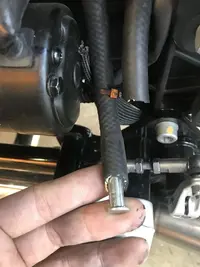
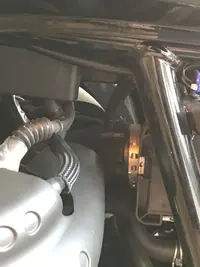
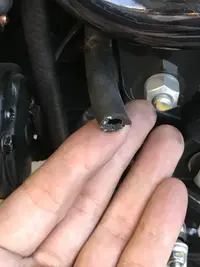
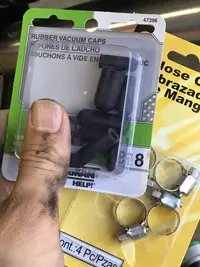
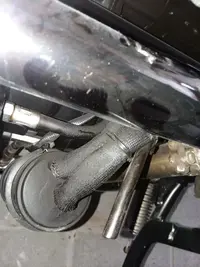
Not having much time, I pulled the seat, side cover, and starter cover. Yup, there are the lines from the intake manifold to the canister under the gearbox, there's the tank line with the valve in it. Looking at the flow from manifold to canister, it was obvious how to do the quick'n'dirty: I cut the line going to the manifold and stuffed a blanking plug into it to stop the vacuum leak. I then cut the line coming from the tank vent and going into the canister just above the valve gizmo, and cut the bottom line and the valve off the canister. No more vacuum leak, and the tank now vents to atmosphere exactly the same way my LeMan V tank did ... just a small line leading from the top of the tank down behind the starter.
Procedure:
- remove seat
- remove left side panel (three bolts)
- remove starter cover (two bolts)
- locate vacuum tap line from manifold to canister under the gearbox
- locate breather line with valve connected to canister
- cut vacuum line and block it (I glued an aluminum slug in place)
- cut breather line above the valve and below at the canister inlet
- leave the breather line open ended behind the started ... put a filter on it if you worry about environmental dust getting into the tank
- replace starter cover
- replace side cover
- replace seat
You're done.
note: Another one of those cheap clip nuts broke when I removed the side cover. Glad I got six better quality spares! That's three now... I'm going to pick up another dozen because I see them all over the place on this bike.
I'll clean up my work next time I get a chance by removing the vacuum line and canister completely and using a good vacuum tap plug, maybe extend the breather line down an inch or two and put a little filter trap on it. But this will suffice for the present.
I'll see what its behavior is on my run out for dinner tonight.
BTW: Is this little valve on the breather line what's referred to as the "tip valve"? Or is that something else still? ... Thanks!
G


